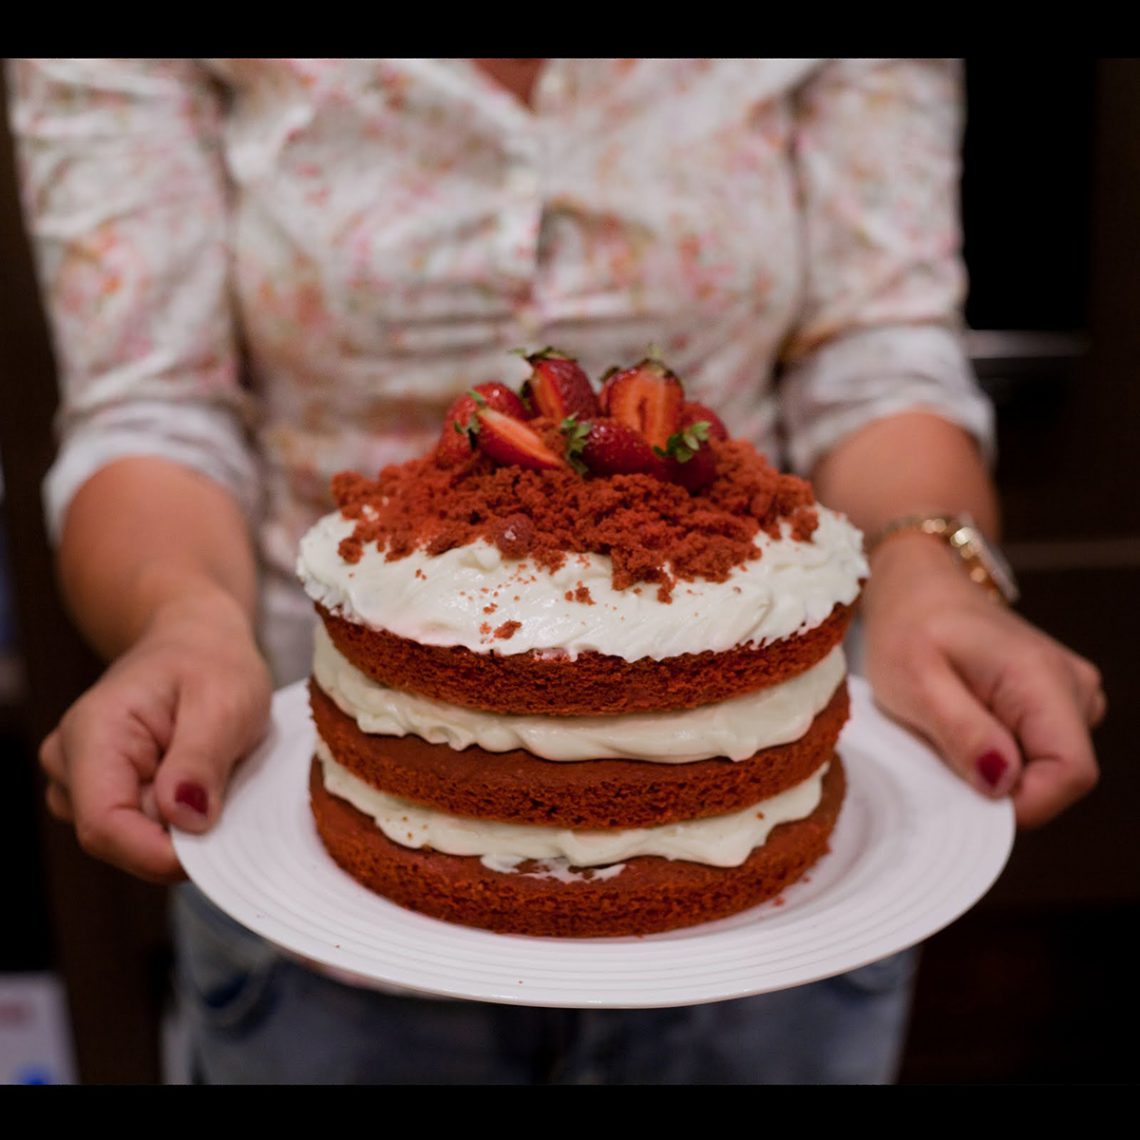
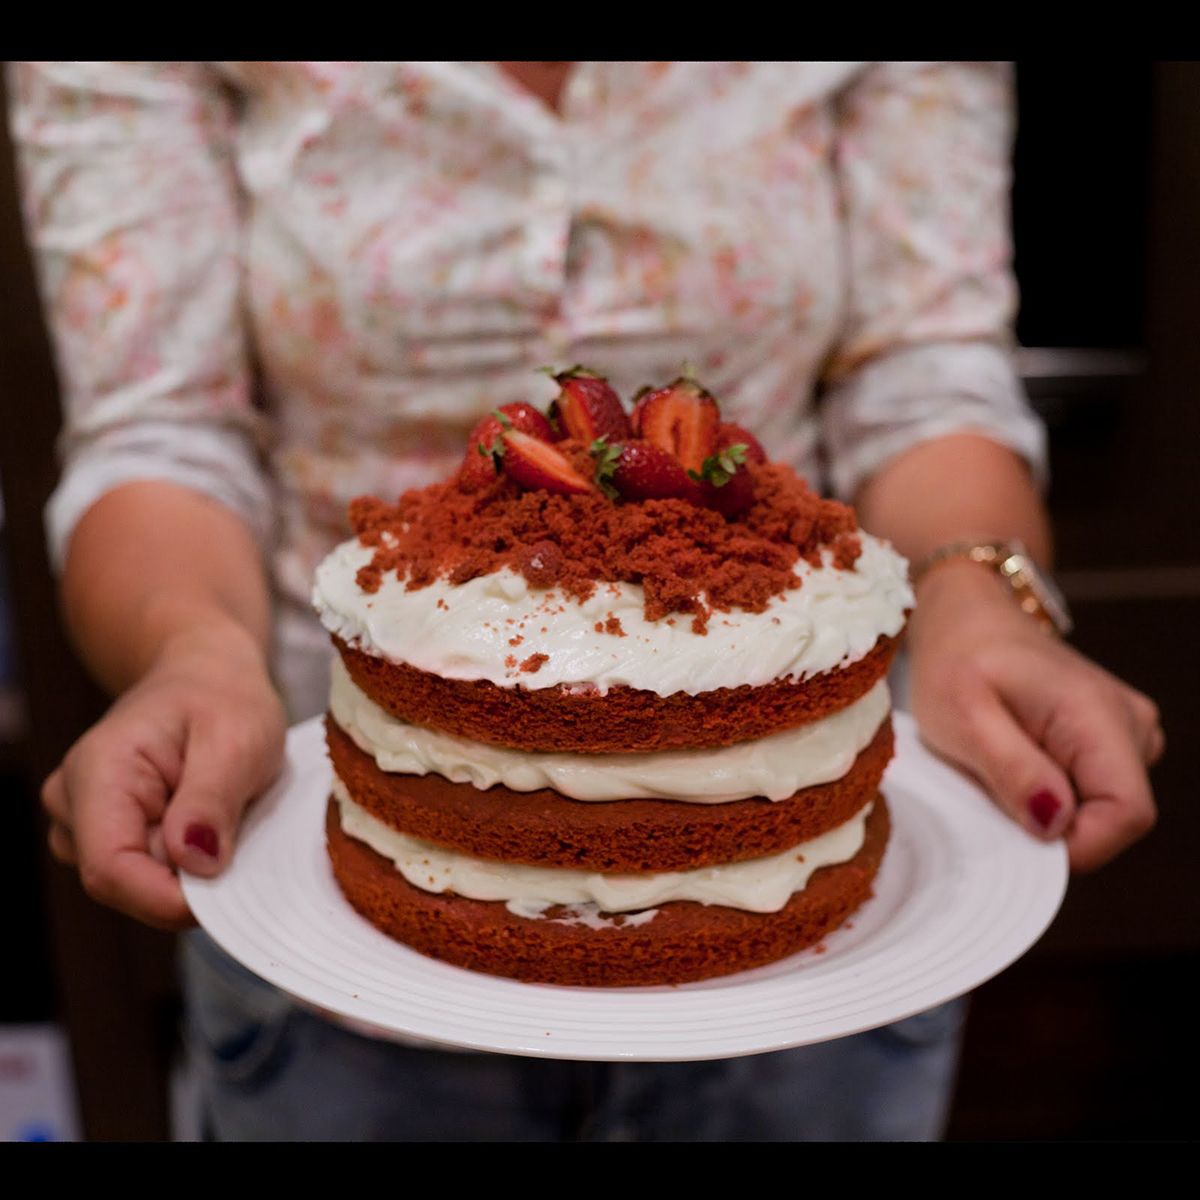
Red Velvet is pure provocation. Red is the most unexpected cake colour imaginable. Trying fluffy, slightly moist red cakes, you will not guess immediately what is it in its taste. A little bit spongy, a little chocolaty, a little vanilla, with a hint of salt, but too sweet. The sweetness is ideally balanced with the sourness of cheese in cream. This cake is a riddle that can be solved if you make it yourself.
 Red Velvet is pure provocation. Red is the most unexpected cake colour imaginable. Trying fluffy, slightly moist red cakes, you will not guess immediately what is it in its taste. A little bit spongy, a little chocolaty, a little vanilla, with a hint of salt, but too sweet. The sweetness is ideally balanced with the sourness of cheese in cream. This cake is a riddle that can be solved if you make it yourself.
- Prep time: 15 minutes + 10 minutes’ chilling
- Cook time: 35 minutes
- Serves: 8
- Difficulty: medium
- Course: cake
- Cookware: 4 round 20cm cake tins, silicone spatula, pallet knife, cooling rack, KitchenAid stand mixer
- Cuisine: English
Ingredients
For the sponges:
- 440 g flour
- 170 g butter, room temperature
- 3 eggs
- 450 g sugar
- 3 tbsp cocoa
- red natural food colouring
- seeds of 1½ vanilla bean or 1½ tsp vanilla paste
- 1½ tsp salt
- 370 ml buttermilk
- 1½ tsp bicarbonate of soda
- 1½ tsp vinegar
- butter for greasing
For the icing:
- 200 g cream cheese
- 250 g mascarpone
- seeds of 1 vanilla bean or 1 tsp vanilla paste
- 150 g icing sugar
- 360 ml double cream, cold
For the decorations:
- 5 large strawberries
Cooking method
Step 1⠀
Heat the oven to 180°C. Using a stand mixer beat on medium speed the butter and ½ sugar together until white. Add the eggs in one at a time, and the rest of the sugar, beating until light and fluffy. Continue beating on medium speed, add vanilla, cocoa, and desired amount of food colouring. Mix until even and set aside.


Step 2
Add salt to buttermilk and mix. Add buttermilk to the batter and mix well with a spatula. Sieve the flour into the batter. Quench the soda with vinegar and add to the batter. Using a spatula, mix the batter well.

Step 3
Butter cake tins and line the bottom with parchment paper. Pour the cake mixture evenly into the four tins. Tap the tins lightly on the table to spread the batter. Bake for 25-30 minutes. Turn out the cakes onto a wire rack, peel off the parchment paper and leave to cool.


Step 4
To make the icing, beat until softened the cream cheese and mascarpone for 2-3 minutes in a stand mixer on low speed. Add vanilla and icing sugar. Mix for a further 2 minutes on low speed. Gradually increasing speed, slowly pour in the cream and beat until smooth. The icing should hold its shape and be easily spread over cakes with a pallet knife.

Step 5
Crumble one sponge with your hands and set aside. Cut the strawberries in half. Put one of the sponges on a cake stand or board and top with 1/3 of the icing. Repeat the process 2 times. Scatter the cake crumbs and strawberry halves on top of the icing. Chill the cake in the refrigerator for 2-3 hours before serving.

My tips and tricks:
I do not like to pierce my golden and smooth sponges with skewers, in order to check if they are ready. So not to spoil their ideal surface. I do it differently. I check if the cake is ready with my hands. In general, I like to touch food. And food loves hands very much. By the way, it is very easy to check whether a person likes to cook: if yes, they will touch everything on the market, they will not be afraid to get dirty in flour and dough, pick up raw chicken or fish, put their finger in a saucepan to check the temperature of the chocolate, or put their hand over frying pan with hot oil, to determine if it is hot enough for frying. Well, let’s go back to the sponge, you just need to press it gently with your finger right in the middle. If the cake regains its shape, it is ready.
Konstantin Vidoborenko’s wine recommendations:
 Oro de Osborne Pedro Ximenez Dark&Sweet
Type: fortified white sweet
Country: Spain, Andalusia
Alcohol: 15%
Grape Variety: pedro ximenez
Colour: mahogany with golden hues around the edges
Aroma: Sweet aromas of raisins, roasted coffee, spices, and oak
Taste: sweet and mild, with notes of dark chocolate and prunes. Long lasting aftertaste. Serve at t: 10-12˚C. It may be served chilled as an aperitif and as a pair to blue cheeses, foie gras, and dark chocolate. It is also worth trying with ice and an orange slice.

- For the sponges:
- 440 g flour
- 170 g butter, room temperature
- 3 eggs
- 450 g sugar
- 3 tbsp cocoa
- red natural food colouring
- seeds of 1½ vanilla bean or 1½ tsp vanilla paste
- 1½ tsp salt
- 370 ml buttermilk
- 1½ tsp bicarbonate of soda
- 1½ tsp vinegar
- butter for greasing
- For the icing:
- 200 g cream cheese
- 250 g mascarpone
- seeds of 1 vanilla bean or 1 tsp vanilla paste
- 150 g icing sugar
- 360 ml double cream, cold
- For the decorations:
- 5 large strawberries
- Heat the oven to 180°C. Using a stand mixer beat on medium speed the butter and ½ sugar together until white. Add the eggs in one at a time, and the rest of the sugar, beating until light and fluffy. Continue beating on medium speed, add vanilla, cocoa, and desired amount of food colouring. Mix until even and set aside.
- Add salt to buttermilk and mix. Add buttermilk to the batter and mix well with a spatula. Sieve the flour into the batter. Quench the soda with vinegar and add to the batter. Using a spatula, mix the batter well.
- Butter cake tins and line the bottom with parchment paper. Pour the cake mixture evenly into the four tins. Tap the tins lightly on the table to spread the batter. Bake for 25-30 minutes. Turn out the cakes onto a wire rack, peel off the parchment paper and leave to cool.
- To make the icing, beat until softened the cream cheese and mascarpone for 2-3 minutes in a stand mixer on low speed. Add vanilla and icing sugar. Mix for a further 2 minutes on low speed. Gradually increasing speed, slowly pour in the cream and beat until smooth. The icing should hold its shape and be easily spread over cakes with a pallet knife.
- Crumble one sponge with your hands and set aside. Cut the strawberries in half. Put one of the sponges on a cake stand or board and top with ⅓ of the icing. Repeat the process 2 times. Scatter the cake crumbs and strawberry halves on top of the icing. Chill the cake in the refrigerator for 2-3 hours before serving.